Isotope Mail: How to deploy Isotope+Traefik into Kubernetes
Introduction
Isotope mail client is a free open source webmail application and one of the side projects in which I invested my spare time during the last year. You can read more about Isotope's features in a previous blog post.
Although there is still no official release, the application is quite stable and usable. In this post, I will show you how to deploy the application to a Kubernetes cluster. For the purpose of the tutorial I've used minikube + kubectl, but the same steps should be reproducible in a real K8s cluster.
Traefik v1
Despite it's not part of the implementation, Traefik (or any other alternative) is one of the main pieces of the deployment as it will act as the API gateway (reverse-proxy) and route the requests to the appropriate Isotope component/service.
The first step is to create an Ingress controller for Traefik (if there isn't any in the cluster yet). We will follow Traefik's official documentation to create the new Ingress controller.
Role Based Access Control configuration (Kubernetes 1.6+ only)
Starting from 1.6 Kubernetes has introduced Role Based Access Control (RBAC) to allow more granular access control to resources based on the roles of individual users.
In order to allow Traefik to access global Kubernetes API, it's necessary to create a ClusterRole and a ClusterRoleBinding.
---
kind: ClusterRole
apiVersion: rbac.authorization.k8s.io/v1beta1
metadata:
  name: traefik-ingress-controller
rules:
  - apiGroups:
      - ""
    resources:
      - services
      - endpoints
      - secrets
    verbs:
      - get
      - list
      - watch
  - apiGroups:
      - extensions
    resources:
      - ingresses
    verbs:
      - get
      - list
      - watch
  - apiGroups:
      - extensions
    resources:
      - ingresses/status
    verbs:
      - update
---
kind: ClusterRoleBinding
apiVersion: rbac.authorization.k8s.io/v1beta1
metadata:
  name: traefik-ingress-controller
roleRef:
  apiGroup: rbac.authorization.k8s.io
  kind: ClusterRole
  name: traefik-ingress-controller
subjects:
  - kind: ServiceAccount
    name: traefik-ingress-controller
    namespace: kube-system
---
apiVersion: v1
kind: ServiceAccount
metadata:
  name: traefik-ingress-controller
namespace: kube-systemkubectl apply -f https://raw.githubusercontent.com/manusa/isotope-mail/master/deployment-examples/k8s/traefik.rbac.yaml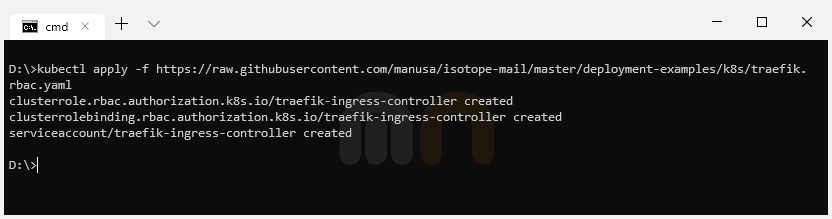
Deploy Traefik using a DaemonSet
The next step is to deploy Traefik ingress controller using a DaemonSet.
If you follow Traefik's official documentation, you'll see you can also achieve this using a Deployment. For the sake of this tutorial and as we are using Minikube, we will use a DaemonSet because it's easier to configure and to expose with Minikube (Minikube has problems to assign external IPs to ingresses using Traefik ingress controller deployed using a Deployment).
---
kind: DaemonSet
apiVersion: apps/v1
metadata:
  name: traefik-ingress-controller
  namespace: kube-system
  labels:
    k8s-app: traefik-ingress-lb
spec:
  selector:
    matchLabels:
      k8s-app: traefik-ingress-lb
  template:
    metadata:
      labels:
        k8s-app: traefik-ingress-lb
        name: traefik-ingress-lb
    spec:
      serviceAccountName: traefik-ingress-controller
      terminationGracePeriodSeconds: 60
      containers:
        - image: traefik:v1.7
          name: traefik-ingress-lb
          ports:
            - name: http
              containerPort: 80
              hostPort: 80
            - name: admin
              containerPort: 8080
              hostPort: 8080
          securityContext:
            capabilities:
              drop:
                - ALL
              add:
                - NET_BIND_SERVICE
          args:
            - --api
            - --kubernetes
            - --logLevel=INFO
---
kind: Service
apiVersion: v1
metadata:
  name: traefik-ingress-service
  namespace: kube-system
spec:
  selector:
    k8s-app: traefik-ingress-lb
  ports:
    - protocol: TCP
      port: 80
      name: web
    - protocol: TCP
      port: 8080
name: adminkubectl apply -f https://raw.githubusercontent.com/manusa/isotope-mail/master/deployment-examples/k8s/traefik.ds.yaml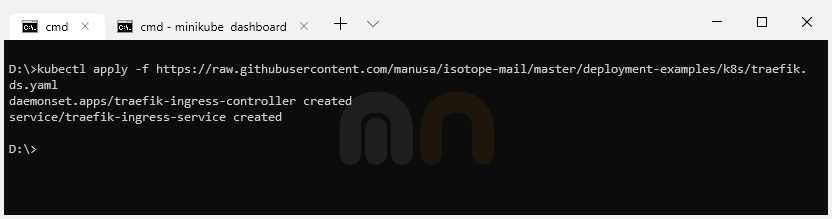
Traefik UI
We can optionally create a Service and Ingress for the Traefik web UI dashboard in order to monitor the new Traefik DaemonSet deployment.
---
apiVersion: v1
kind: Service
metadata:
  name: traefik-web-ui
  namespace: kube-system
spec:
  selector:
    k8s-app: traefik-ingress-lb
  ports:
    - name: web
      port: 80
      targetPort: 8080
---
apiVersion: extensions/v1beta1
kind: Ingress
metadata:
  name: traefik-web-ui
  namespace: kube-system
spec:
  rules:
    - host: traefik-ui.minikube
      http:
        paths:
          - path: /
            backend:
              serviceName: traefik-web-ui
servicePort: webkubectl apply -f https://raw.githubusercontent.com/manusa/isotope-mail/master/deployment-examples/k8s/traefik.ui.yaml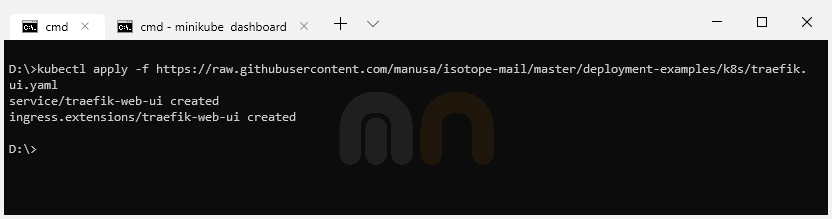
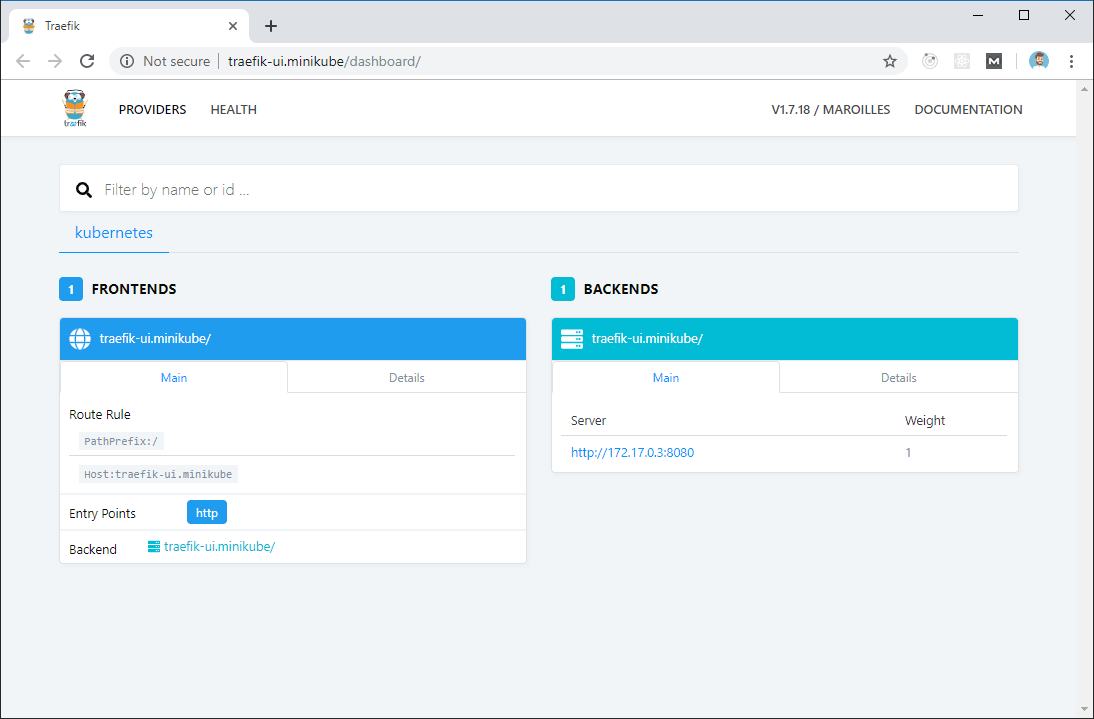
It's important to note that for the Ingress configuration we are using traefik-ui.minikube as the public host. In a production environment, we would add a real hostname. An additional required step is to add the Kubernetes cluster IP (minikube ip / kubectl get ingress) into our local hosts file (/etc/hosts).
Finally, we can point our browser to traefik-ui.minikube to load Traefik's dashboard.
Isotope
The last step is to deploy Isotope.
---
apiVersion: v1
kind: Secret
metadata:
  name: isotope-secrets
type: Opaque
data:
  encryptionPassword: U2VjcmV0SzhzUGFzc29yZA==
---
kind: Deployment
apiVersion: apps/v1
metadata:
  name: isotope-server
  labels:
    app: isotope
    component: server
spec:
  replicas: 1
  selector:
    matchLabels:
      app: isotope
      component: server
      version: latest
  template:
    metadata:
      labels:
        app: isotope
        component: server
        version: latest
    spec:
      containers:
        - name: isotope-server
          image: marcnuri/isotope:server-latest
          imagePullPolicy: Always
          ports:
            - containerPort: 9010
          env:
            - name: ENCRYPTION_PASSWORD
              valueFrom:
                secretKeyRef:
                  name: isotope-secrets
                  key: encryptionPassword
          livenessProbe:
            httpGet:
              path: /actuator/health
              port: 9010
            failureThreshold: 6
            periodSeconds: 5
          # Use startupProbe instead if your k8s version supports it
            initialDelaySeconds: 60
          readinessProbe:
            httpGet:
              path: /actuator/health
              port: 9010
            failureThreshold: 2
            periodSeconds: 5
#          startupProbe:
#            httpGet:
#              path: /actuator/health
#              port: 9010
#            initialDelaySeconds: 20
#            failureThreshold: 15
#            periodSeconds: 10
---
kind: Deployment
apiVersion: apps/v1
metadata:
  name: isotope-client
  labels:
    app: isotope
    component: client
spec:
  replicas: 1
  selector:
    matchLabels:
      app: isotope
      component: client
      version: latest
  template:
    metadata:
      labels:
        app: isotope
        component: client
        version: latest
    spec:
      containers:
        - name: isotope-client
          image: marcnuri/isotope:client-latest
          imagePullPolicy: Always
          ports:
            - containerPort: 80
          livenessProbe:
            httpGet:
              path: /favicon.ico
              port: 80
            failureThreshold: 6
            periodSeconds: 5
---
apiVersion: v1
kind: Service
metadata:
  name: isotope-server
spec:
  ports:
    - name: http
      targetPort: 9010
      port: 80
  selector:
    app: isotope
    component: server
---
apiVersion: v1
kind: Service
metadata:
  name: isotope-client
spec:
  ports:
    - name: http
      targetPort: 80
      port: 80
  selector:
    app: isotope
    component: client
---
apiVersion: extensions/v1beta1
kind: Ingress
metadata:
  name: isotope
  annotations:
    kubernetes.io/ingress.class: traefik
    traefik.frontend.rule.type: PathPrefixStrip
spec:
  rules:
    - host: isotope.minikube
      http:
        paths:
          - path: /
            backend:
              serviceName: isotope-client
              servicePort: http
          - path: /api
            backend:
              serviceName: isotope-server
servicePort: httpkubectl apply -f https://raw.githubusercontent.com/manusa/isotope-mail/master/deployment-examples/k8s/isotope.yaml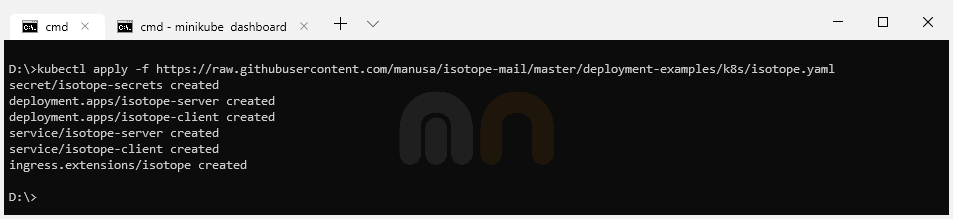
Secret
The first entry in the Yaml configuration is a Kubernetes Base64 encoded secret that will be used to set the encryption symmetric key in Isotope Server component.
Isotope Server Deployment
The next entry is the Deployment configuration for the Isotope Server component. As this deployment is more complex than the Client Deployment, basic common configurations for both components will be described in the next section (Isotope Client Deployment).
In the env section, we're declaring the ENCRYPTION_PASSWORD environment variable and assigning it the value of the Secret we declared in the previous step. This variable will be available to all Pods created by Kubernetes from this Deployment configuration, thus, all Pods will share the same encryption key and will be compatible.
We're also defining two different probes so that Traefik and Kubernetes know when the Isotope Server Pods are ready and traffic can be routed to them. Liveness probe will be used to determine if the container is still alive. Otherwise, Kubernetes will restart the Pod as the application state is considered to be broken. We're also using the initialDelaySeconds because the application takes a couple of seconds to spin up and this way we'll avoid false positives for the probe. If your Kubernetes version supports it, it's better to define a startup probe instead of this initialDelaySeconds.
A readiness probe is also defined in this section. This probe is similar to the liveness probe and will be used to indicate if the application is ready to receive traffic. If for some reason the application is temporarily not admitting traffic (max number of connections, etc.) the probe will set the application "down" but Kubernetes will not restart it.
For both probes, we're using an HTTP request pointing to Spring Actuator's health check endpoint which is available in Isotope Server component.
Isotope Client Deployment
Same as we did for the Server component, we're now defining a Deployment for Isotope's Client component.
In the spec section we're defining the number of replicas we want for our Pods, in this case, one. The selector property, although optional in previous API versions, is now mandatory and will be used by Kuberentes to determine the number of Pods actually running to spin up more replicas if necessary (they should match the labels in the template section).
The template entry within the spec section is used to define the Pod specifications. For Isotope Client we're defining a Pod with a single container based on marcnuri/isotope:client-latest Docker image exposing Http port.
As with the Isotope Server deployment, we define a simple liveness probe in case the Pod becomes unstable and reaches a broken state so that Kubernetes will automatically restart it.
Services
The next section in the configuration defines a Service for each of the previous deployments (server/client) in order to expose them to the cluster.
To ease the Ingress definition in further steps, both Services will expose Http port (80).
Ingress
The final section of the configuration defines an Ingress using the Ingress controller deployed in the first steps of the tutorial.
We are going to use isotope.minikube as the public host, although in a production environment we should use a valid and real hostname. We will also need to add an additional entry in our /etc/hosts file.
Traffic reaching http://isotope.minikube/api will be routed by Traefik to isotope-server service, traffic reaching http://isotope.minikube/ will be routed to isotope-client service.
The use of traefik.frontend.rule.type: PathPrefixStrip configuration will remove /api from the requests to isotope-server service, this way, no additional modifications or configurations will be necessary for Isotope Server component to be compatible with our deployment.
Traefik dashboard with Isotope
Once Isotope configuration is deployed, Traefik dashboard will automatically update and display the new routes for Isotope.

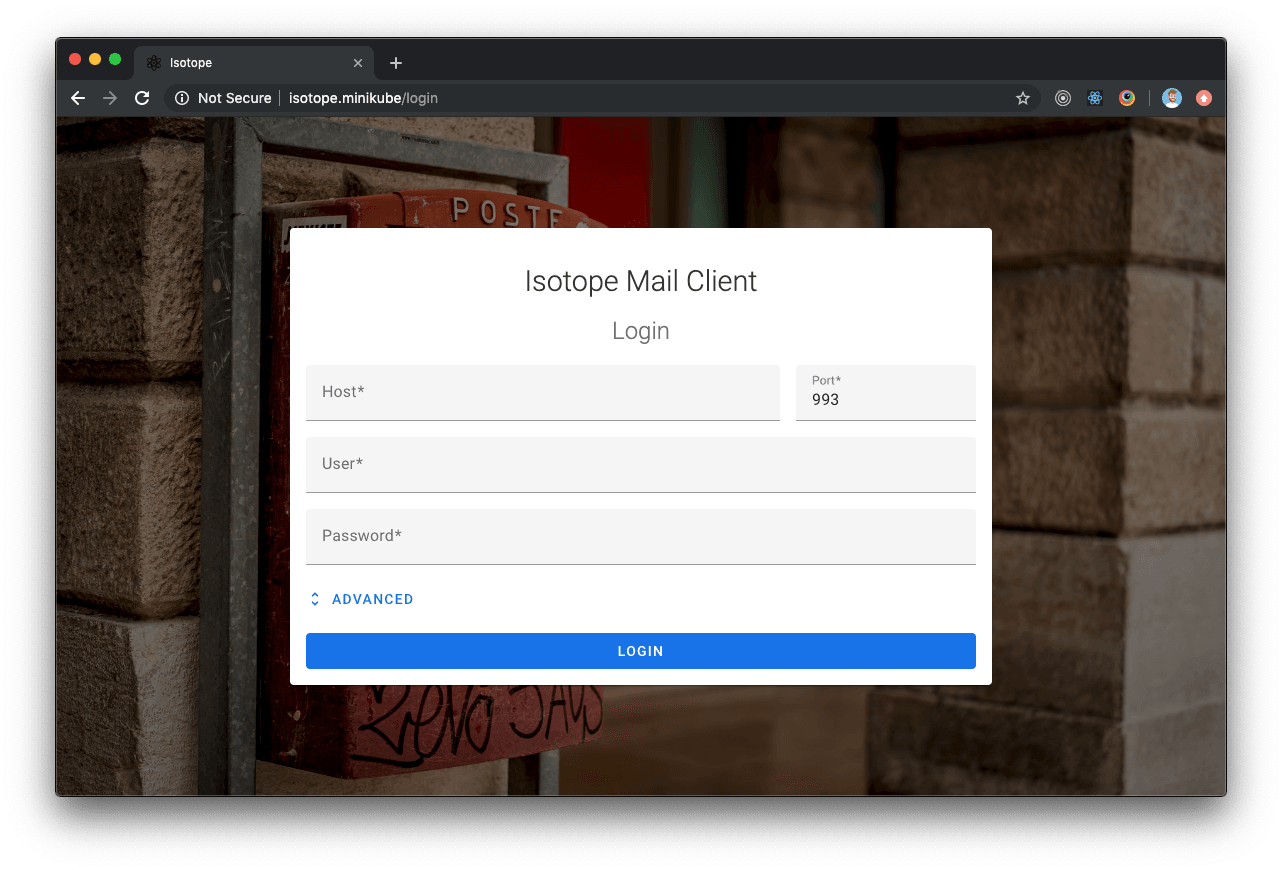
Isotope deployment
If everything went OK and Traefik dashboards display healthy Isotope components, we can now point our browser to http://isotope.minikube where Isotope will be ready and accessible.