Quarkus + Fabric8 Maven Plugin + GraalVM integration
Note
Fabric8 Maven Plugin has been deprecated and migrated to Eclipse JKube.
You can find an updated version of this article using Eclipse JKube here.
Introduction
In this tutorial, we’ll see how to develop and integrate a very simple Quarkus application with Fabric8 Maven Plugin in order to publish a native GraalVM image into Docker Hub.
The first part of the tutorial describes how to build a very simple Quarkus application. The next part describes how to build a Quarkus native executable with GraalVM. The last section shows how to integrate the project with Fabric8 Maven Plugin and how to deploy the application images into Docker Hub.
Quarkus example application
This section describes how to build a simple application that will return a random quote each time you perform a request to /quotes/random endpoint.
Project bootstrapping
If you have maven installed, the easiest way to bootstrap the project is to run the following command:
mvn io.quarkus:quarkus-maven-plugin:0.26.1:create \\
    -DprojectGroupId=com.marcnuri.demo \\
    -DprojectArtifactId=fmp-quarkus \\
    -DclassName="com.marcnuri.demo"
This will create a new directory fmp-quarkus with an initial maven project with maven wrapper support.
If you don’t have maven installed, or if you prefer an interactive graphical user interface, you can navigate to code.quarkus.io to download a bootstrapped project with your specific requirements.
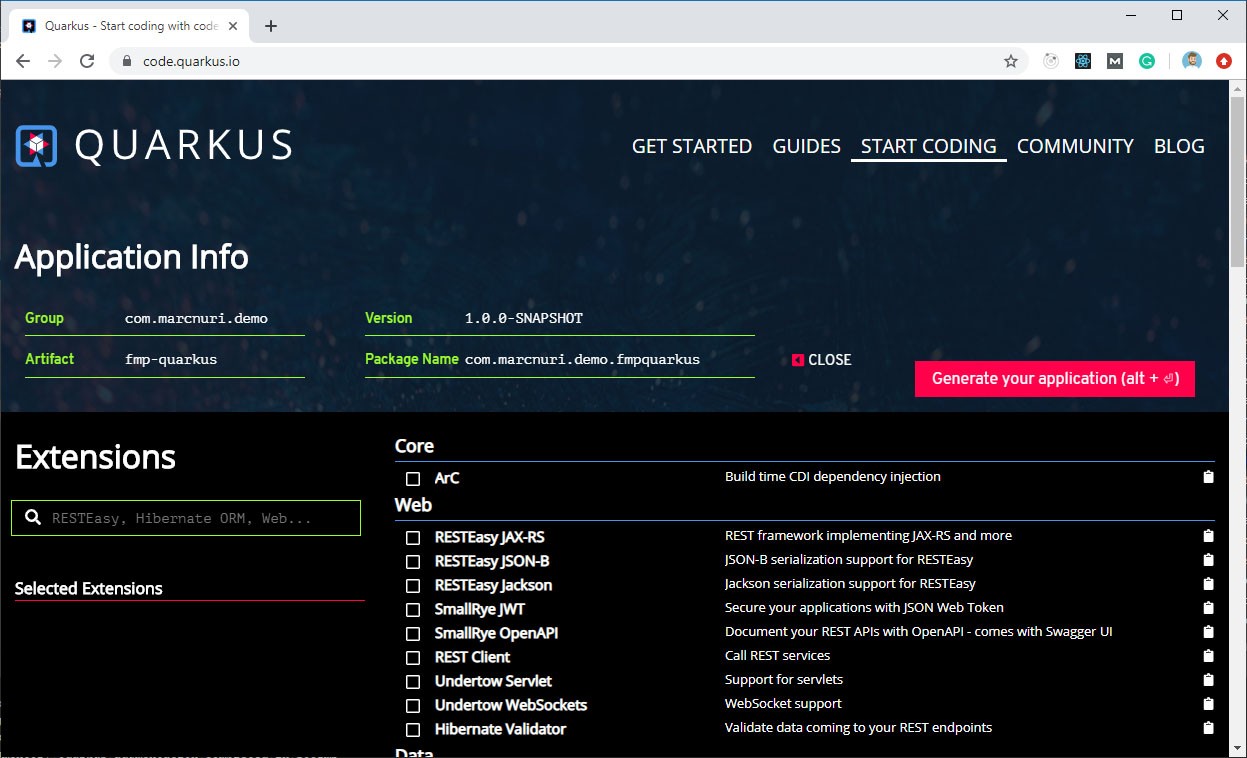
Project resources
As already explained, the application will serve a random quote each time a user performs a request to an endpoint.
These quotes will be loaded from a JSON file located in the project resources folder.
For this purpose, we’ll add the file quotes.json into the directory src/main/resources/quotes/.
Random quote endpoint
The first step is to create a Quote Pojo that will be used to map the quotes in the JSON file when it’s deserialized.
public class Quote implements Serializable {
  /* ... */
  private String content;
  private String author;
  /* ... */
}
In order to read the quotes from the resources directory and to expose a random quote, we’ll create a QuoteService class.
@Singleton
public class QuoteService {

  private static final Logger log = LoggerFactory.getLogger(QuoteService.class);

  private static final String QUOTES_RESOURCE= "/quotes/quotes.json";

  private final List<Quote> quotes;

  public QuoteService() {
    quotes = new ArrayList<>();
  }

  @PostConstruct
  protected final void initialize() {
    final ObjectMapper objectMapper = new ObjectMapper();
    try (final InputStream quotesStream = QuoteService.class.getResourceAsStream(QUOTES_RESOURCE)) {
      quotes.addAll(objectMapper.readValue(quotesStream,
          objectMapper.getTypeFactory().constructCollectionType(List.class, Quote.class)));
    } catch (IOException e) {
      log.error("Error loading quotes", e);
    }
  }


  Quote getRandomQuote() {
    return quotes.get(ThreadLocalRandom.current().nextInt(quotes.size()));
  }

}
The initialize method will use Jackson to read and deserialize the quotes.json file into an ArrayList that will be used later on to fetch a random quote.
The getRandomQuote method will return a random Quote entry from the ArrayList.
The last step is to actually expose the Quotes through a REST endpoint. For that purpose, we are going to create a QuoteResource class.
@Path("/quotes")
public class QuoteResource {

  private static final String HEADER_QUOTE_AUTHOR = "Quote-Author";

  private QuoteService quoteService;

  @GET
  @Path("/random")
  public Response getRandomQuote() {
    final Quote randomQuote = quoteService.getRandomQuote();
    return Response
        .ok(randomQuote.getContent(), MediaType.TEXT_PLAIN_TYPE)
        .header(HEADER_QUOTE_AUTHOR, randomQuote.getAuthor())
        .build();
  }

  @Inject
  public void setQuoteService(QuoteService quoteService) {
    this.quoteService = quoteService;
  }
}
The class has a method getRandomQuote that will use an instance of the previously described QuoteService to get a random quote and return its content in the HTTP response body.
The author of the quote will also be available as a Response header.
Once we complete all the steps, we can start the application in development mode using the following command:
./mvnw clean quarkus:dev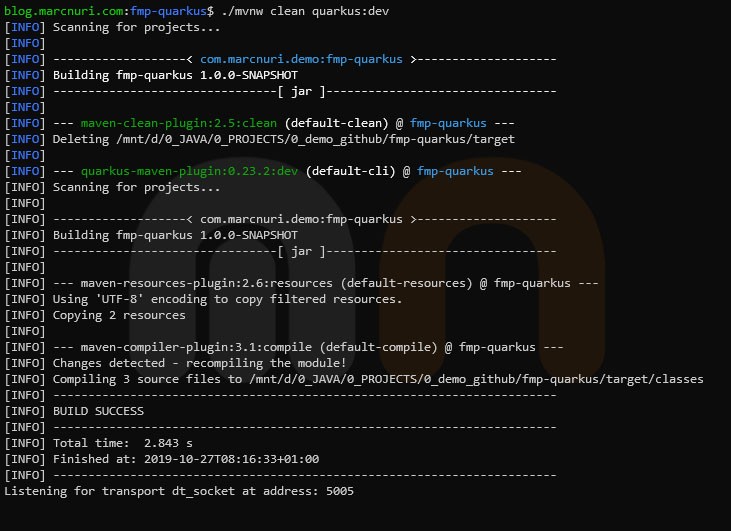
The endpoint will now be accessible at http://localhost:8080/quotes/random.
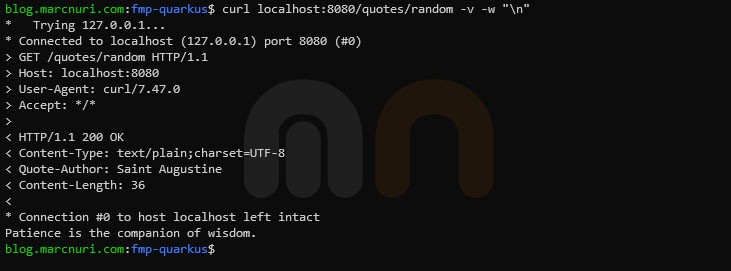
Building a native executable with GraalVM
The next step will be to build the application using GraalVM to create a native image.
The first step will be to adapt the application to make it compatible with GraalVM.
Include resources
By default, GraalVM won’t include any of the resources available on the classpath during image creation using native-image. Resources that must be available at runtime must be specifically included during image creation.
For this purpose, we’re going to modify our default pom.xml file and include the following line:
<additionalBuildArgs> -H:IncludeResources=.*\\.json$</additionalBuildArgs>This line will indicate Quarkus to add the -H:IncludeResources command-line flag to the native-image command. In this case, we want to add any file that ends in .json.
Native image reflection
Jackson JSON deserialization will use reflection to create instances of the target classes when performing reads. Graal native image build requires to know ahead of time which kind of elements are reflectiveley accessed in the program.
Quarkus eases this task by providing a @RegisterForReflection annotation that automates this task. For our example application, we’ll need to annotate the Quote class.
Building the application
Once all modifications have been completed, we can now perform the build of our application in native mode. If Graal VM with native-image support is available in our system, we can simply run the following command:
./mvnw clean package -Pnative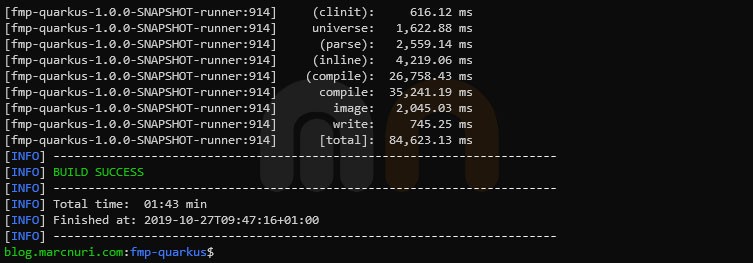
This will create a native executable in the target directory.
We can now run the application natively:

The endpoint will again be accessible at http://localhost:8080/quotes/random.
If GraalVM is not available in your system, but Docker is, the same command can be run through a Docker container:
./mvnw clean package -Pnative -Dnative-image.docker-build=trueFabric8 Maven Plugin integration
The last step in the tutorial is to integrate the build process with Fabric8 Maven Plugin.
We are going to build (fabric8:build) 2 different Docker images depending on the profile we are running.
For this purpose, we are going to reuse de the Docker files that were generated when the application was bootstrapped.
The bootstrap application contains two different Docker files in src/main/docker directory one to create a Docker image that runs the Quarkus application in JVM mode and another that runs the application in native mode.
Docker image running application with JVM
We are going to modify the default build of our pom.xml to build a Docker image that runs our application like any other regular Java application using a Java Virtual Machine.
In this case, we are going to use the file Dockerfile.jvm.
In the plugin section of the default build we’ll insert the following lines:
<build>
  <plugins>
    <!-- ... -->
    <plugin>
      <groupId>io.fabric8</groupId>
      <artifactId>fabric8-maven-plugin</artifactId>
      <version>\${fmp.version}</version>
      <configuration>
        <images>
          <image>
            <name>marcnuri/fmp-quarkus:jvm</name>
            <build>
              <contextDir>\${project.basedir}</contextDir>
              <dockerFile>src/main/docker/Dockerfile.jvm</dockerFile>
            </build>
          </image>
        </images>
        <authConfig>
          <username>\${env.DOCKER_HUB_USER}</username>
          <password>\${env.DOCKER_HUB_PASSWORD}</password>
        </authConfig>
      </configuration>
    </plugin>
  </plugins>
</build>
The first part (groupId, artifactId & version) indicate that we want to use the Fabric8 Maven Plugin.
In many cases, this may just be enough, as the plugin has a Zero-Config setup that works with some opinionated defaults.
Next, we add a specific configuration for our image.
First, we define the image name: marcnuri/fmp-quarkus:jvm. This will create an image for the marcnuri repository with the name fmp-quarkus and jvm tag.
It’s important to add the tag this way, otherwise, the image will also be tagged with latest (see native image build configuration).
We are also specifying the dockerFile we want to use in combination with the contextDir (project base directory).
Finally, we add the credentials for Docker Hub in the authConfig section.
The Maven goal to push the image will only be used through GitHub Actions CI,
credentials will be available in the specified environment variables.
We can now run the following command to build the Docker image:
./mvnw clean package fabric8:build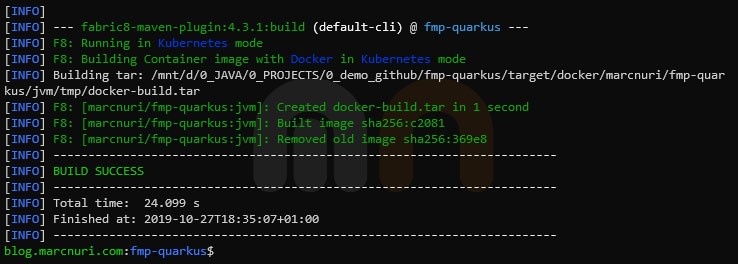

Docker image running application in native mode
Following the steps defined to build the JVM Docker image, we are going to add the plugin to the native profile with some specific settings:
<profiles>
  <profile>
    <id>native</id>
    <!-- ... -->
    <build>
      <plugins>
        <!-- ... -->
        <plugin>
          <groupId>io.fabric8</groupId>
          <artifactId>fabric8-maven-plugin</artifactId>
          <version>\${fmp.version}</version>
          <configuration>
            <images>
              <image>
                <name>marcnuri/fmp-quarkus:native</name>
                <build>
                  <contextDir>\${project.basedir}</contextDir>
                  <dockerFile>src/main/docker/Dockerfile.native</dockerFile>
                  <tags>
                    <tag>latest</tag>
                  </tags>
                </build>
              </image>
            </images>
            <authConfig>
              <username>\${env.DOCKER_HUB_USER}</username>
              <password>\${env.DOCKER_HUB_PASSWORD}</password>
            </authConfig>
          </configuration>
        </plugin>
      </plugins>
    </build>
  </profile>
</profiles>
In this case, we are going to modify the configuration for the image.
Firstly, we are going to replace the image name with marcnuri/fmp-quarkus:native so that it gets tagged as native.
We are going to use Dockerfile.native as the dockerFile.
We also want this image to get the latest tag, so we are going to manually add this tag in the tags section.
The same result would be achieved if the image name contained no tag (i.e. marcnuri/fmp-quarkus) and added the native tag manually.
We can now run the following command to build the native Docker image:
./mvnw clean package fabric8:build -Pnative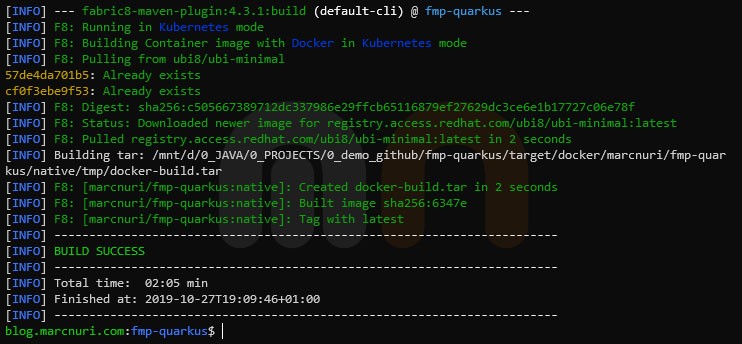

fabric8:push Push image to Docker Hub
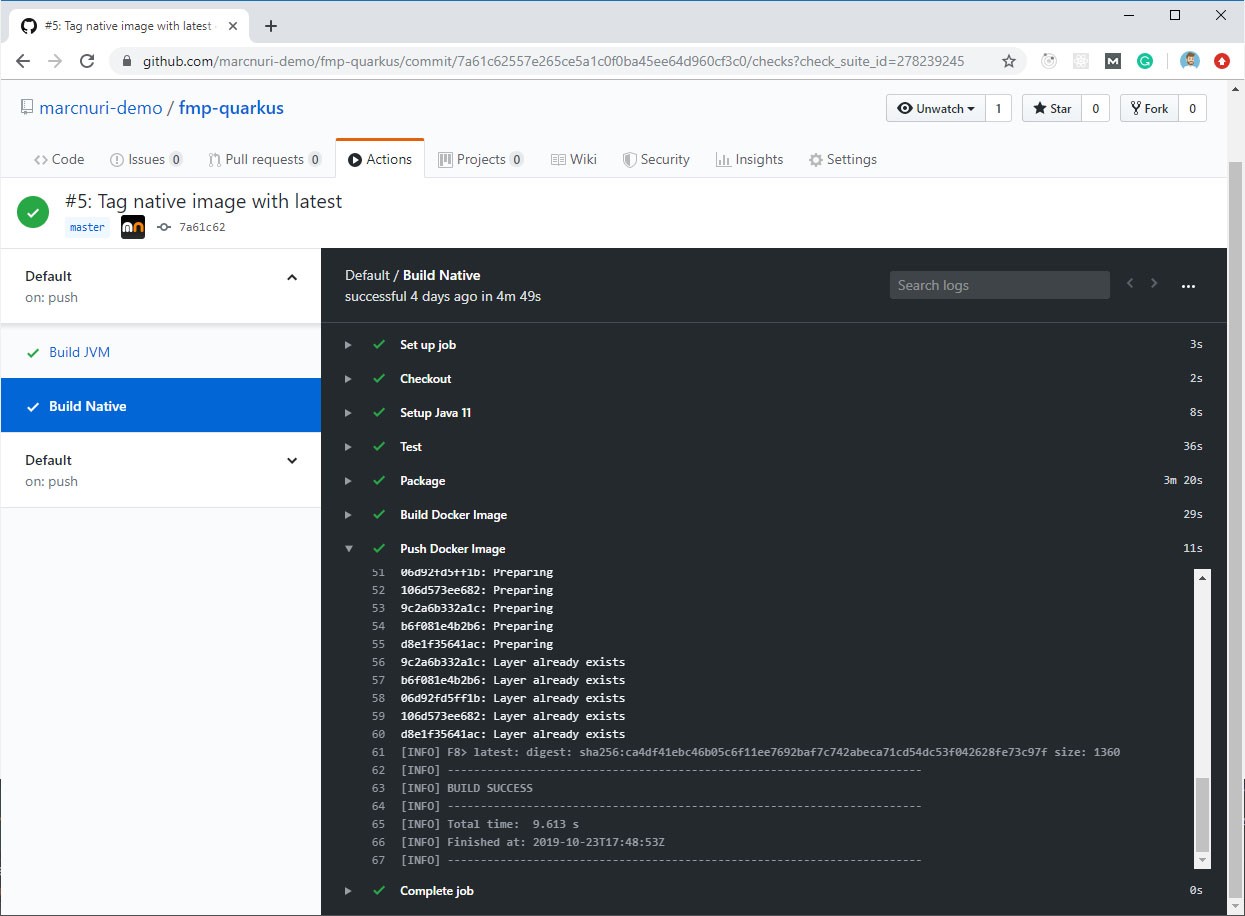
If we have the appropriate (authentication) environment variables we can now run the following command to push the image into Docker Hub repository:
./mvnw fabric8:pushIn our case we are going to run this from a GitHub Actions Workflow:
Conclusion
This post shows how to build a very simple Quarkus application and how to publish a Docker image running a GraalVM native executable into Docker Hub using Fabric8 Maven Plugin. In the first section, we learnt how to build a very simple REST endpoint that will return a random quote for each request. The second step shows how to adapt our application so that it can be built into a native executable using GraalVM. Finally, we integrated the Fabric8 Maven plugin into our pom.xml file in order to build and publish two different Docker images.
The full source code for this post can be found at Github.

Comments in "Quarkus + Fabric8 Maven Plugin + GraalVM integration"
It's probably failing with newer versions.
Anyway, if you're referring to the maven command to create project from archetype, it does work for me: