Windows XP: How to enable the built-in Administrator account
Note
There is a newer version of this article for Windows 11.
Windows XP has a built-in Administrator account that is normally disabled for security reasons. However, it is possible to enable it and use it to perform tasks that require administrator privileges. This way, you can keep your user account as a normal user and use the Administrator account only when needed.
Note that this is mostly applicable for Windows XP Pro. On Windows XP Home, you can enable the Administrator account, but you won't be able to use it to log in.
Opening the Command Prompt
The first step is to start a Windows Command Prompt as an administrator user.
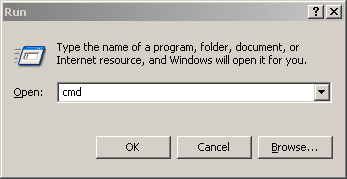
You can do this by pressing Windows+R to open the Run dialog and typing cmd.

Enabling the Administrator account
Once the Command Prompt is open, we'll run the following command to enable the built-in Administrator account:
net user administrator /active:yesThe following screenshot shows the successful output of the command:

Logging in as the Administrator
Once the Administrator account is enabled, you can log in as the Administrator (Only on Windows XP Pro).
Note that the regular login screen will not contain the Administrator account, this is mine:

To be able to log in as the Administrator, you need to press Ctrl+Alt+Del twice at the login screen.
This will bring up the Windows login window, where you can type the username Administrator (you probably haven't changed its password yet, so you should leave it blank).

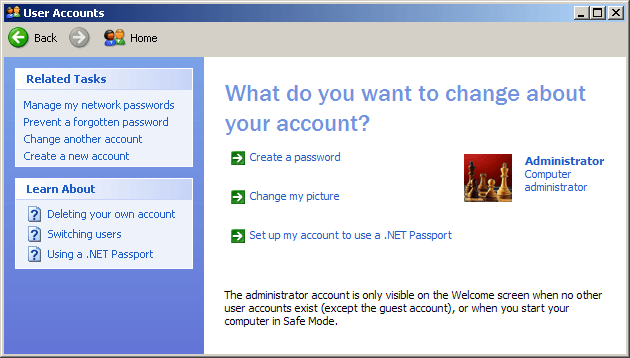
Once you've logged in, you should set the password by opening the User Accounts from the Control Panel and selecting the Administrator account.

